I’ve seen a lot of “my hard drive is dead” posts where the drive wasn’t dead at all. The files were hidden from the file system, not erased from the disk. Big difference. I’ve done the same dumb thing with photos before, and yeah, your stomach drops fast. Still, don’t start clicking around and trying random fixes.
When photos get deleted from an internal or external drive, they usually do not vanish on the spot. The file system removes the references to those files and marks their old space as free for future writes. Until new data lands there, parts or all of those photos often still sit on the drive.
First move, stop using the drive. If it’s an external drive, eject it and unplug it. Leave it alone until you know your next step. If the photos were on your main internal drive, the risk goes up fast. Your OS keeps writing temp data, logs, cache, updates, little bits of junk all the time. The longer you keep booted into that drive, the higher the odds your deleted files get overwritten. Best case, shut the machine down, pull the drive, and connect it to another computer as a secondary disk. Internal or external, same rule applies. If you keep writing to the same drive, you might overwrite the exact sectors where the photos still exist. After that, software won’t save you. It’s done.
If the drive sounds normal, mounts normally, spins up, and doesn’t throw off signs of hardware failure, recovery software is usually the practical route. I would not jump straight to a lab for a plain delete job.
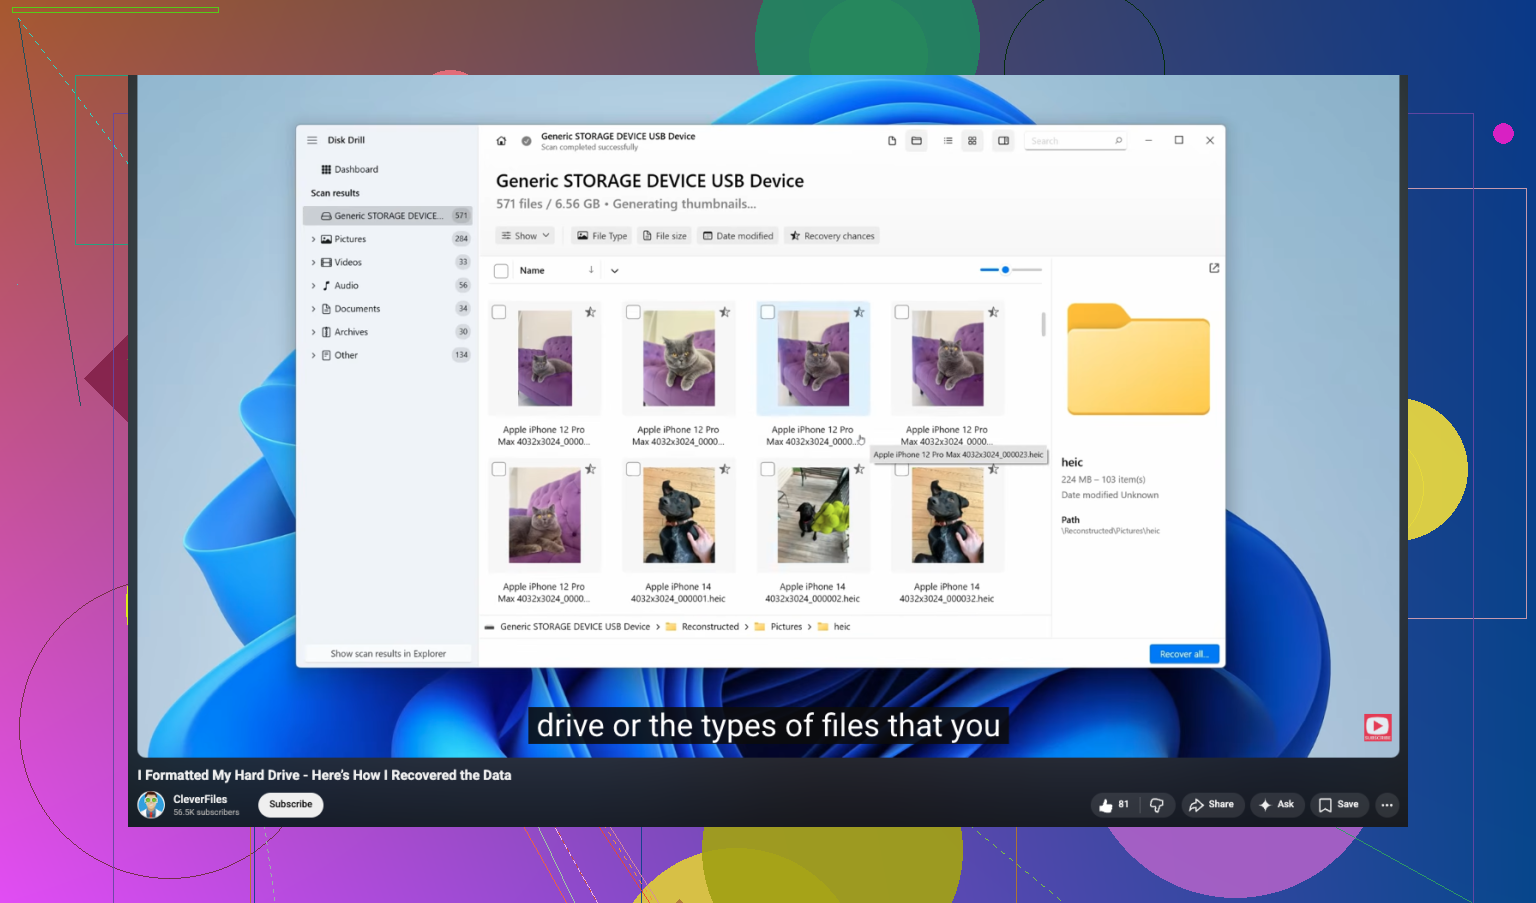
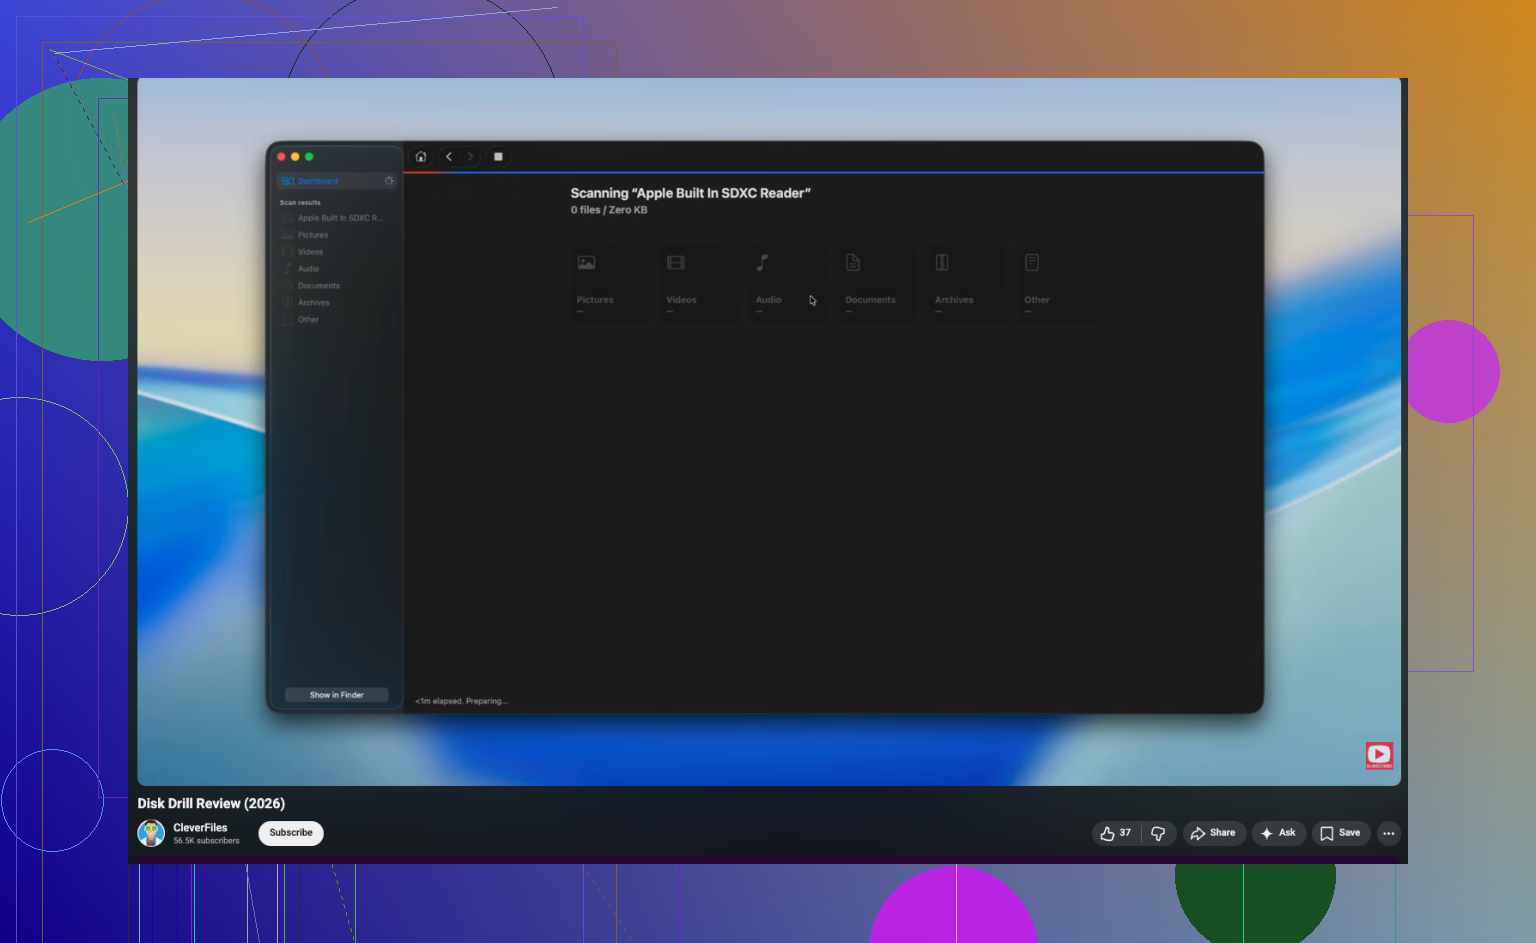
I’ve tried a pile of recovery apps on desktop drives and portable externals. The one I kept coming back to was Disk Drill. For photos, it did better for me than most. The layout is easy to follow, which matters when you’re already stressed, and the scan does a good job pulling up raw photo and video files. You can scan first and preview results before paying. If the preview opens and the image looks fine, the file is usually intact.
- Put the software somewhere else. Install it on a different drive. Not the one where the photos were deleted. Don’t write a single extra thing to the problem disk if you can avoid it.
- Make an image first. Safest move. Create a full byte-for-byte image of the drive and save it onto a healthy disk. I do this first when the files matter.
- Run recovery against the image. Scan the image file instead of hammering the original disk. Less risk, less wear, fewer chances to make things worse.
- Restore files to another device. Let the scan finish. Filter for images. Check previews. When you recover anything, save it to a different drive, not back onto the same one. I know this sounds obvious, but people still do it when they’re panicking.
There’s also a point where DIY stops making sense. If any of the signs below show up, quit trying software and send it to a recovery lab.
- The drive makes bad noises. Clicking, grinding, scraping, beeping. Those noises usually mean internal mechanical trouble.
- The drive won’t power up. No spin, no lights, no response. Could be a dead board or some other failed component.
- The system does not detect it at all. If it won’t appear in Disk Management or similar tools after swapping cables and ports, I’d stop assuming it’s a file deletion issue.
- The corruption is severe. If software can’t read the structure of the drive well enough to work with it, the problem is past normal home recovery.
Recovery labs use cleanroom setups and proper hardware tools to open and repair failing drives. It costs more, yeah. Still, if the photos matter and the drive has physical issues, that route makes more sense than gambling with it on your desk.
I hope you get the pictures back. I’ve been there, and it sucks. If you do recover them, set up backups after. Two copies beats this whole mess next time. Let the thread know what happened.