I’m trying to set up a virtual machine in VirtualBox that needs a serial COM port for legacy hardware testing, but I’m confused by the different COM port options and modes (host device, pipe, file, etc.). The guest OS either doesn’t detect the port or fails to communicate with the hardware. Can someone explain the proper way to configure a VirtualBox COM port and what each option does so I can get reliable serial communication?
Short version: you’ve basically got 3 real-world use cases for VirtualBox COM ports, and which mode you pick depends on what you’re actually trying to talk to: real hardware, another app, or a log file.
1. Basic COM port setup in VirtualBox
In VM settings:
- Go to Settings → Serial Ports
- Check Enable Serial Port
- Pick Port Number (COM1 / COM2 etc.)
- Leave IRQ / I/O Port at defaults unless your legacy guest insists on specific values
- Set Port Mode based on what you need:
2. Port Mode options explained
A. Host Device
Use this when the guest should talk to a real serial port on the host.
- On Windows host, “Port/File Path” is usually something like:
COM1,COM3, etc.
- On Linux host, it is something like:
/dev/ttyS0or/dev/ttyUSB0for USB serial adapters
Guest then sees a normal COM port. In your guest OS you configure it like physical hardware: set baud rate, parity, stop bits in Device Manager or stty or your app.
This is what you want if you have actual legacy serial hardware plugged into the host.
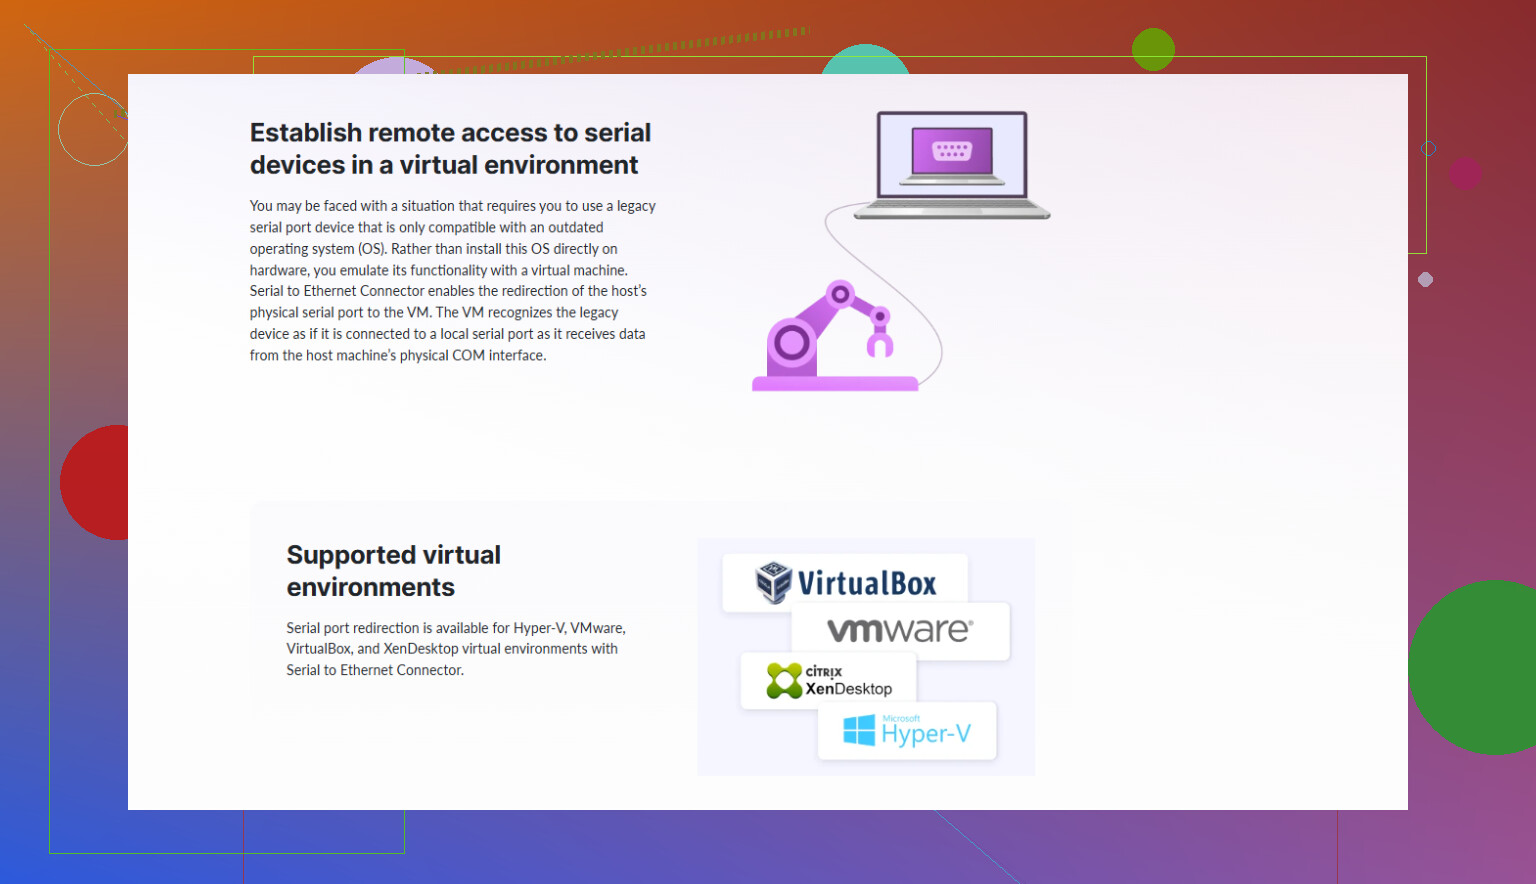
If your host does not have a physical COM port, you can use USB‑to‑serial adapters or a virtual port created by something like Serial to Ethernet Connector that exposes a network serial device as a local COM port. VirtualBox can use that COM port the same way as a real one.
B. Host Pipe
Use this when you want the guest to talk to another process, tool, or another VM.
- Think of it as: “guest COM1 is wired into a pipe on the host”
- One side is server, the other is client
- VirtualBox can be either side, but typically:
- VM is Server
- Your host app connects as Client
You enter a path like:
- Windows:
\\.\pipe\myserialpipe - Linux: just a unix socket / named pipe path
Guest thinks it’s a serial port, but the data actually goes in/out of the pipe. Good for debugging, protocol sniffing, or linking 2 VMs together.
C. Raw File
Use this only when you want logging.
- VirtualBox writes everything sent to the COM port into a file on the host
- No actual device or interactive endpoint, just a log
- Useful for debugging legacy software that spews debug over COM
Guest thinks it talks to a COM port, but no one answers.
3. Guest OS config
Inside the guest:
-
Windows guest
- Device will show up under Ports (COM & LPT)
- Your app just uses COM1 / COM2 etc.
- Set baud rate and such in your app or in port properties
-
Linux guest
- Device names usually
/dev/ttyS0,/dev/ttyS1 - Check with
dmesg | grep ttySorsetserial -g /dev/ttyS* - Use
minicom,screen /dev/ttyS0 9600, or whatever your legacy tool is
- Device names usually
Legacy OSes sometimes hardcode COM1 to 0x3F8 / IRQ 4 and COM2 to 0x2F8 / IRQ 3. If your guest software is picky, match those in VirtualBox Serial settings.
4. When your “legacy hardware” is actually on the network
If that old device is reached over TCP/IP (serial over LAN, terminal servers, etc.), doing direct mapping in VirtualBox can get fiddly.
In that case, using Serial to Ethernet Connector on the host can be a lot easier:
- It creates a virtual COM port on the host
- That COM port talks over the network to the remote serial device
- VirtualBox just sees an ordinary host COM port in “Host Device” mode
So your VM → virtual COM → Serial to Ethernet Connector → real device over TCP.
That pattern solves a ton of “VM + remote serial box” headaches.
5. Solid walkthrough if you want more detail
If you want a step by step guide with screenshots and different scenarios, this page is pretty solid:
detailed VirtualBox serial port configuration guide
It digs deeper into mapping physical ports, network serial devices, and using tools like Serial to Ethernet Connector with VMs.
So for your case, testing legacy hardware:
- If hardware is directly plugged into host: Host Device pointing at the correct COM or
/dev/tty* - If hardware is remote or via serial-over-TCP: use Serial to Ethernet Connector on host, expose a COM port, then pick Host Device in VirtualBox
- If you’re just capturing debug from the guest: Raw File
- If you’re connecting guest to another program or VM: Host Pipe
You’re basically on the right track; the Serial Ports page in VirtualBox just does a terrible job of explaining itself.
@shizuka already covered the three main modes pretty well, so I’ll focus on the “gotchas” and how to actually decide what to pick without randomly flipping options until it kinda works.
1. First question: what are you really connecting to?
Ignore VirtualBox for a sec and answer this:
- Do you have a real serial device plugged into the host (DB9, USB‑serial, etc.)?
- Do you want the VM to talk to another program / another VM on the host?
- Are you only trying to capture debug output from the guest?
- Is the “legacy hardware” actually a network device that exposes serial over TCP?
Your COM mode choice is basically:
- Real hardware → usually Host Device
- Talk to another program / VM → Host Pipe
- Just log traffic → Raw File
- Remote serial over TCP → Host Device + something like Serial to Ethernet Connector
Same knobs as @shizuka described, but the mistake people make is trying to use Host Pipe when they actually have a USB‑serial stick, or using Host Device to talk to a TCP socket. That’s when everything mysteriously “does nothing.”
2. The part VirtualBox doesn’t tell you: ordering & legacy OS quirks
Legacy OSes and old DOS tools are often hardcoded:
- COM1 → I/O
0x3F8, IRQ 4 - COM2 → I/O
0x2F8, IRQ 3
If your guest is something old (DOS, Win9x, some embedded debugger), match these:
- VirtualBox:
- Serial Port 1 → Port Number: COM1, I/O Port: 0x3F8, IRQ: 4
- Serial Port 2 → COM2, 0x2F8, IRQ: 3
If you leave the defaults and your legacy tool is picky, it just silently fails. This is one place I slightly disagree with just “leaving defaults”: for truly old software, it’s worth explicitly setting the classic values so you’re not guessing why COM1 “doesn’t exist.”
Also, be aware:
- On Windows guests, VirtualBox’s “COM1” maps to COM1 in Device Manager.
- On Linux guests, “COM1” is usually /dev/ttyS0.
So if your app says “use COM1” and you are on Linux, that means /dev/ttyS0, not some magic other device.
3. Host Device mode: the silent failure traps
Using Host Device looks simple but there are a few sharp edges:
-
Host side must not already own the port
- If some terminal program on the host has opened
COM3, the VM can’t attach to it. No error, it just fails or hangs. - Same story on Linux with
/dev/ttyUSB0.
- If some terminal program on the host has opened
-
Permissions on Linux
- If you point VirtualBox at
/dev/ttyS0or/dev/ttyUSB0, your user needs permission. - Quick test: on the host run
screen /dev/ttyUSB0 9600.- If that fails, VirtualBox will fail too.
- If you point VirtualBox at
-
USB‑serial is fine
- You do not need USB passthrough if the device is exposed as a host COM port.
- Use it like any other host serial device in Host Device mode.
Where I tend to differ a bit from what people usually suggest: if you’re dealing with flaky legacy hardware, I prefer to validate the serial link on the host first with a dumb terminal (PuTTY, minicom, screen). Once I know baud / parity / flow control are correct and data is flowing, then I plug that same device into VirtualBox as Host Device. Cuts the debugging surface area in half.
4. Host Pipe mode: don’t overcomplicate it
People love to overthink Host Pipe and then hate it.
Use it when:
- You want to run a serial sniffer / simulator on the host
- You want two VMs to talk over a virtual serial cable
Typical setup:
-
In VM:
- Enable Serial → Port 1
- Port Mode: Host Pipe
- Check “Create Pipe” so VirtualBox is the server
- Path:
- Windows:
\\.\pipe\myVMcom1 - Linux: something like
/tmp/vboxcom1
- Windows:
-
On host: your app / other VM connects to that pipe as a client and pretends it’s a serial port.
Where people go wrong:
- Creating the pipe on the host and telling VirtualBox to “Create Pipe” too. Only one side should be the creator.
- Expecting this to magically talk to real RS‑232 hardware. It won’t unless another component bridges the pipe to physical serial.
If your goal is “VM talks to actual old hardware,” Host Pipe is usually the wrong tool.
5. Raw File: looks like a port, works like a logfile
Raw File is ultra simple and also ultra misleading:
- Guest sees what looks like a serial port.
- Everything written to that port gets appended to a file on the host.
- Nothing ever writes back.
Use this to:
- Capture debug output from old firmware / OS boot loaders.
- Log some serial protocol you’re reverse engineering.
Do not use it if you expect your device to respond. It literally can’t.
6. Legacy hardware that actually lives on the network
This is where it gets ugly if you try to brute force it with VirtualBox alone.
If your “serial” device is:
- On a terminal server
- Behind a serial over LAN box
- Exposed as a TCP port (like 192.168.0.50:4001)
VirtualBox has no native “TCP serial port” mode for guests. You have two cleaner options:
-
Do the TCP handling inside the guest
- Use a guest driver or utility that turns TCP into COM (Windows) or
/dev/tty(Linux). - Can work, but drivers for old guests can be a pain.
- Use a guest driver or utility that turns TCP into COM (Windows) or
-
Do the TCP handling on the host and present a normal COM port to the VM
- This is where something like Serial to Ethernet Connector earns its keep.
- It creates a virtual COM port on the host and connects that to the remote TCP serial endpoint.
- In VirtualBox you just set Port Mode to Host Device and point at that virtual COM port.
For that second approach, you install a dedicated serial over IP utility on the host, create a virtual port, then:
- VirtualBox: Serial Port 1
- Enable
- Port Mode: Host Device
- Port/File Path: the created COM, like
COM9(Windows) or/dev/ttySEC0(Linux, depending on the tool)
That way the VM thinks it’s talking to a local serial interface, but under the hood it is going over TCP. If you want a straightforward tool for this, have a look at advanced Serial to Ethernet Connector download options. This serial over IP software makes it a lot easier to expose remote serial ports as local COM ports that VirtualBox can actually use.
7. Concrete combos for your legacy testing
Given your use case (legacy hardware testing), here’s how I’d map it:
-
Hardware physically on host via RS‑232 or USB‑serial
- Host: verify with PuTTY / minicom that the port works.
- VM:
- Serial Port 1 → Enable
- Port Number: COM1
- Port Mode: Host Device
- Port/File Path:
COMxor/dev/ttyUSBx - Inside guest: use COM1 or
/dev/ttyS0.
-
Hardware remote over network (serial device server, etc.)
- Host: install Serial to Ethernet Connector, create a virtual COM mapped to the remote TCP port.
- VM: map that virtual host COM via Host Device as above.
- Guest apps don’t know or care that the device is remote.
-
Legacy OS debug output only
- VM: Serial Port 1 → Port Mode: Raw File → choose a log file path.
- Use a second port as a real COM if needed for actual communication.
-
Test harness running on the host, VM as “device under test”
- VM: Serial Port 1 → Host Pipe, Create Pipe checked, path set.
- Host: test app connects to that pipe and emulates the hardware.
If you start by deciding which of those four scenarios you’re actually in, the choice between Host Device / Pipe / File becomes a lot less confusing and you’re not just randomly flipping options until “COM1” kind of responds.