Accidentally deleted some important videos on my Mac. Tried looking in the Trash but they weren’t there. Need a way to recover them as soon as possible, any ideas?
Ah, the good ol’ accidental delete. We’ve all been there. Since your videos aren’t in the Trash, recovery’s a bit trickier but not impossible.
First, don’t write anything new to your hard drive, as this could overwrite your deleted files.
Here’s what you can do:
- Time Machine Backup: If you’ve been diligent about backups, you might find your videos here. Just open Time Machine and look through the backups to restore the files.
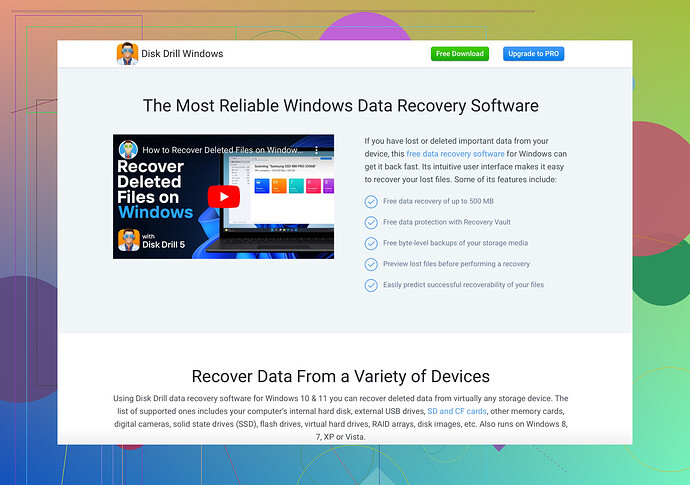
- Use Recovery Software: Programs like Disk Drill can help recover deleted videos. It’s excellent for trying to retrieve lost files. They have an intuitive interface perfect for all levels of users. Check it out: Disk Drill Data Recovery Software.
- Check Other Backups: Do you have any backups on external drives or cloud services (iCloud, Google Drive)? Worth a look!
To use Disk Drill, follow these steps:
- Download and install Disk Drill from their website.
- Launch the program and select the disk where your videos were stored.
- Click “Recover” to scan the disk for lost files.
- Preview the found files and select the ones you need to recover.
Remember, the quicker you act, the better your chances. The more you use your Mac after deleting files, the higher the risk of overwriting those deleted videos. Best of luck!
First off, let’s avoid the doom and gloom. Your videos might still be recoverable even if they’re not in the Trash. Here’s a different angle to approach your problem:
-
Look for Shadow Copies: Mac creates these during updates. Go to ‘System Preferences,’ then ‘Software Update,’ and click on ‘Advanced’ to check if old backups exist.
-
Use Terminal: It can be daunting if you’re not into code, but sometimes files get hidden. Open Terminal and type
defaults write com.apple.finder AppleShowAllFiles TRUE; killall Finder. This will show hidden files. Be careful with this method, though – you don’t want to accidentally mess up other system files. -
Disk Drill Alternative: While Disk Drill is user-friendly and effective, there’s also PhotoRec. It’s free and does a great job at recovering a variety of file types. You can download it and follow the same recovery steps: scan, preview, recover. The interface isn’t as sleek, but it’s robust.
-
Professional Recovery Services: If those videos are super critical and none of the software approaches work, consider professional data recovery services. They might cost you, but they have the tools and expertise that surpass average software capabilities.
Remember, always back up important files. Cloud services like iCloud and Google Drive are excellent for that. Don’t stress too hard – just get moving with one of these methods.
You can get Disk Drill at this ‘Disk Drill Data Recovery Software’. It helps to recover not just videos but a variety of file types, making it a versatile tool for data recovery.
Alright, let’s dive in with a different approach. Since @waldgeist and @vrijheidsvogel covered some solid ground, here’s a few additional tips to make sure nothing slips through the cracks.
1. Try Terminal (Slightly Different Command)
Sometimes, hidden files might save the day. Open your Terminal and type:
sudo find / -name '*.mov'
Replace “.mov” with the file extension of your videos (.mp4, .avi, etc.). This command digs deep, so be patient.
2. Check Local Snapshots
Your Mac might have local snapshots stored by Time Machine. Open Terminal and type:
tmutil listlocalsnapshots /
If snapshots are listed, use the Time Machine to revert back to those dates.
3. Disk Utility for Full Disk Access
Ensure your recovery software has full disk access:
- Go to
System Preferences>Security & Privacy>Privacytab. - Click
Full Disk Accessand add your recovery software here.
Recovery Software Alternatives
While Disk Drill is powerful and user-friendly, you might want alternatives. Here are a couple:
-
Stellar Data Recovery: Another top-tier choice with extensive file support.
-
PhotoRec: Mentioned by @vrijheidsvogel; it’s robust but has a less modern interface.
-
Pros of Disk Drill: Intuitive interface, comprehensive recovery options, and high success rate.
-
Cons: It’s not free and can be pricey for the Pro version.
4. Professional Help as a Last Resort
If the software route fails, a professional data recovery service might be the best fallback. It’s expensive but often worth it for critical data.
Finally, always ensure regular backups. Automate them using Time Machine or cloud services. This practice might save you from future data loss incidents. Stay vigilant, and hope you get your videos back soon!
