I accidentally deleted important files from my Mac hard drive and may have emptied the Trash before realizing it. I need help with safe Mac hard drive recovery options that won’t overwrite the data, plus any recommended tools or steps to get my files back.
If you’re missing files, don’t assume they’re gone for good yet. On a Mac, deleting something or formatting a drive often just marks that space as free. The actual data can still be sitting there until macOS or another app writes new data over it.
Stop using that drive first
This matters more than anything else. Don’t install recovery tools on it, don’t copy new files to it, and don’t keep using the Mac like normal. Even small background writes can overwrite data you might still be able to recover.
If the files were on an external drive, unplug it for now. If they were on the Mac’s internal drive, use the computer as little as possible until you decide what to do next.
Check the obvious places
Start with the regular Trash. If the missing files were on an external drive, also check for the hidden Trash folder that drive may have.
- Connect the external drive and open it in Finder.
- Press Shift + Command + Period to show hidden files.
- Look for a folder named .Trashes.
- Open it and see if your files are there.
- If you find something, right-click it and choose “Put Back.”
Use Time Machine if it was already set up
If Time Machine was running before the files disappeared, try that before doing a recovery scan. Open Time Machine from the menu bar, go back to a date where the files still existed, select them, and click “Restore.”
If there’s no backup, try recovery software
When Trash is empty and Time Machine isn’t an option, recovery software is usually the next reasonable step before paying for a lab.
Disk Drill is one example that can scan Mac file systems like APFS and HFS+. It can look for recoverable file records and also identify files by their internal signatures, which helps when names or folder paths are already damaged.
Don’t install the recovery app onto the same drive you’re trying to recover from. Use another drive for the install, and save recovered files to a separate storage device too.
If the drive seems unhealthy, image it first
If the drive is freezing, randomly disconnecting, running very slowly, or disappearing from the system, don’t keep hammering it with scans.
Make a byte-for-byte disk image first if the tool offers that option, then scan the image instead of the original drive. That gives you a fixed copy of the drive in its current state and puts less strain on hardware that may already be failing.
Don’t run software on a drive making bad noises
Clicking, grinding, repeated spin-up sounds, or strange whirring usually points to physical damage. At that point, stop. Disconnect the drive and talk to a professional data recovery lab. Software won’t fix mechanical failure, and continuing to power the drive on can make things worse.
Once you get through this, set up a better backup routine. Time Machine is good for a local backup, and a cloud backup gives you an off-site copy if the drive or Mac dies.
For now, keep it simple: stop using the affected drive, check Trash and Time Machine, make an image if the drive is acting unstable, and recover anything found onto a different device.
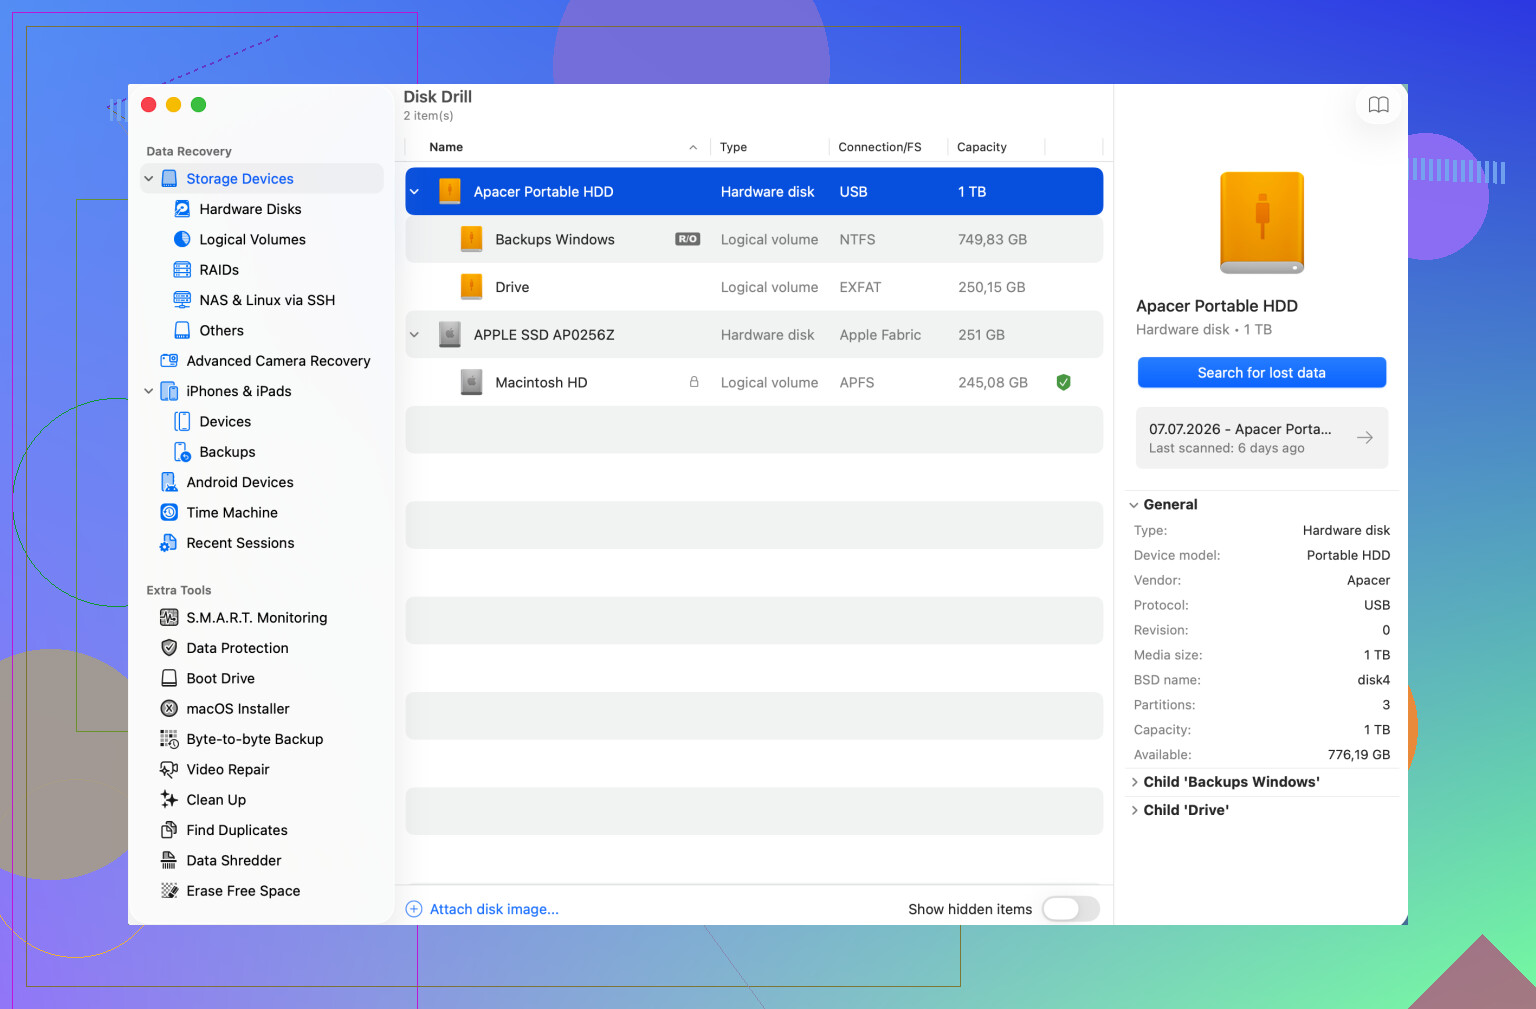
An external spinning drive and a recent MacBook SSD are very different recovery jobs. If this was an external HDD, the “deleted but not overwritten yet” idea that @mikeappsreviewer mentioned is often realistic. If this was the internal SSD on a modern Mac, especially with TRIM and encryption in the mix, deleted files may become unrecoverable much faster than people expect. That doesn’t mean give up, but it does mean don’t spend days casually trying random fixes on the same machine.
For an internal drive, I’d avoid booting it normally if the files matter a lot. Shut it down, then recover from another Mac if possible, or boot from an external system and scan from there. If you install Disk Drill or any other recovery app directly onto the same internal drive, you may be writing over exactly the space you’re trying to read. Same goes for downloading installers, browser caches, iCloud syncing, Photos library updates, Spotlight indexing, and all the little “invisible” writes macOS does while you’re poking around.
Small caveat people forget: check iCloud Drive, Desktop/Documents sync, Photos recently deleted, Messages attachments, and app-specific trash areas before doing a full recovery scan. Sometimes the “deleted from the hard drive” file is still sitting in a cloud deleted-items folder or on another Apple device. If it’s genuinely gone from Trash and backups, then scan the drive, but save anything recovered to a separate disk. Don’t restore recovered files back to the same drive until you’re done looking.
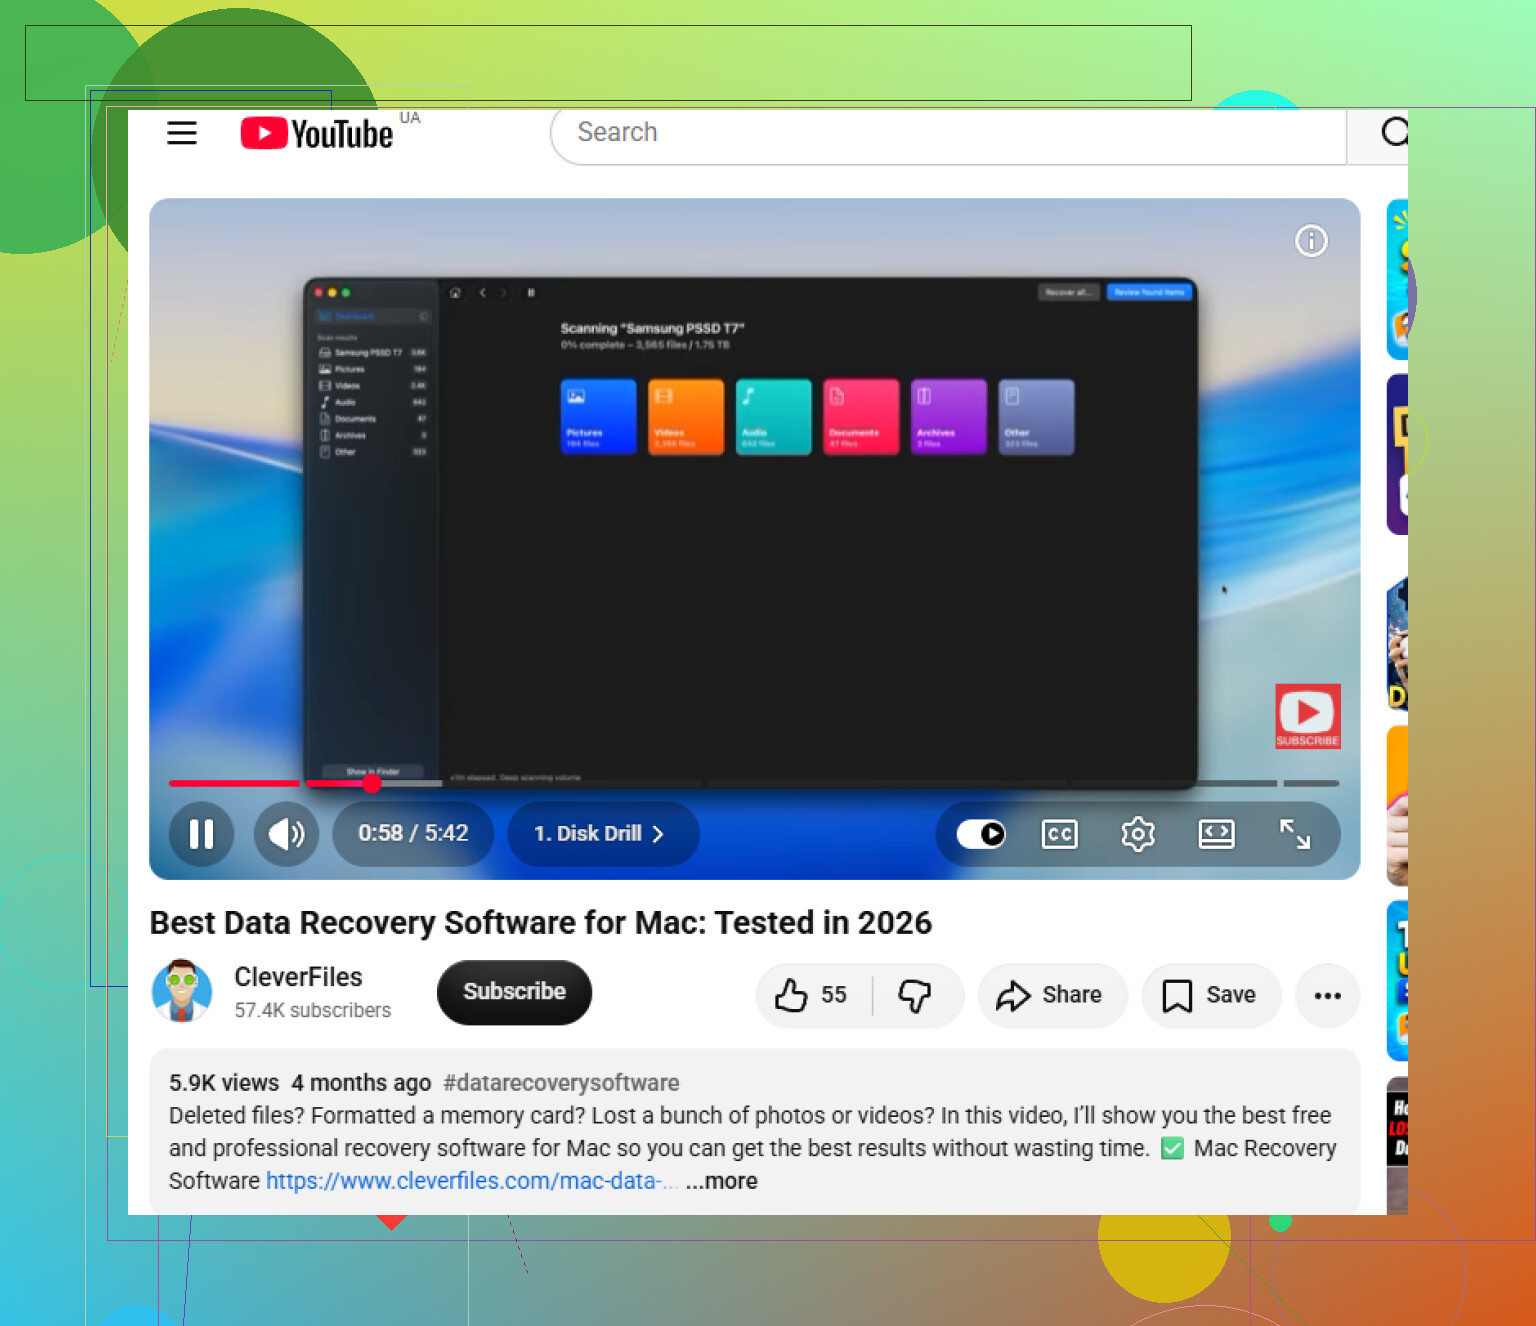
Whether Time Machine was ever turned on changes the next move more than the recovery app choice. Even if you never plugged in the backup drive today, macOS may have local APFS snapshots from when Time Machine was enabled. Those can sometimes let you roll a folder or file back without doing a raw recovery scan. It is worth checking before you start installing tools or cloning things, because it is cleaner than trying to carve deleted files out of free space.
I agree with @stellacadente on the internal SSD warning, especially on newer Macs. People hear “deleted files are still there until overwritten” and assume they have plenty of time, but APFS, TRIM, FileVault, and normal macOS background activity make that a lot less comforting. I would not run Disk Utility First Aid, “repair” apps, cleaner apps, or anything that promises to rebuild the drive. Those are for filesystem problems, not accidental deletion, and they can change the disk.
If you do use Disk Drill or a similar recovery tool, treat it as a scanner, not a magic undo button. Run it from another disk if possible, save recovered files somewhere else, and don’t expect original names/folders to always survive. If this is an external HDD, software recovery has a much better shot. If this is the built-in SSD on a recent Mac and the files are truly gone from Trash, snapshots, iCloud deleted items, and backups, the realistic answer may be “maybe partial recovery, maybe nothing.” The safest cheap move is still: power down, work from another Mac or external boot, and make a copy/image before experimenting.
If the files were on the internal SSD and the Trash was emptied, expect recovery to be uncertain rather than routine. On older external hard drives you may have a decent chance, but on a newer Mac the safe assumption is that every normal boot, login, browser session, iCloud sync, app update, or Spotlight index pass can make the odds worse.
The point I’d make before choosing any app is to decide how valuable the files are. If they are business records, legal documents, client work, or irreplaceable photos, don’t “try a few things” first. Shut the Mac down and consider a recovery lab. DIY scans are cheaper, but they are still activity against the device, and a failed first attempt can leave you with fewer options.
If the value is not lab-level, then I’d work in this order: check cloud deleted-items folders and Time Machine/snapshots, then make a copy or image if possible, then scan the copy. Disk Drill is fine as one of the tools for that kind of scan, especially on an external drive or disk image, but I would not install it on the same volume you are trying to recover. Use another Mac, an external boot disk, or at minimum a separate drive for the app and a separate drive for recovered output.
A small trap people miss: don’t restore a whole backup onto the same Mac before you are done trying recovery. A full restore can write a ton of data over free space where deleted files might still have been recoverable. Same idea with “clean up space” utilities, reinstalling macOS, moving libraries around, or letting Photos/Music re-import things. Those are normal fixes for other problems, but they are bad moves when the goal is undelete.
When you do scan, don’t judge only by file names. Deleted APFS/HFS recoveries can produce files with missing names, wrong folders, or duplicates. Use previews where the tool offers them, recover a small batch to another drive, open those copies, and only then run a larger recovery. It is slower and messier, but it avoids the classic mistake of dumping thousands of half-broken files back onto the drive you were trying to save.