My hard drive started making unusual noises and now it shows a lot of bad sectors. It has important photos, work files, and personal documents that I haven’t fully backed up. I’m looking for the safest way to recover data from a failing hard drive without making the damage worse. Any advice on recovery steps, software, or when to stop and use a professional data recovery service would really help.
If you’re getting CRC errors, or File Explorer locks up when you open a folder, stop touching the drive.
I mean it. I learned this the hard way on an old 2 TB laptop drive. I kept retrying copies, ran a scan, let Windows sit there ‘thinking’ for an hour, and the drive got worse by the minute. If it’s an external drive, unplug it. If it’s your system drive, power the PC off. The longer a bad drive stays online, the more read retries it does, and those retries are rough on a disk already slipping.
What this usually points to is one of two messes.
First, logical damage. The sector itself still exists, but the data in it no longer matches the error correction data. I’ve seen this after sudden power loss and forced shutdowns. Sometimes those are recoverable.
Second, physical damage. That means the platter surface is bad, or the read/write head is failing. Software does not repair that. It only works around it by marking bad spots and avoiding them later.
The big mistake people make is running CHKDSK right away. Don’t. CHKDSK is for making the file system usable again, not for protecting your files. If the file system metadata is damaged, CHKDSK might clean things up by removing broken entries. Nice for Windows, bad for recovery. I’ve seen files go from ‘maybe recoverable’ to ‘where did they go.’
The safer move is to clone the drive first, sector by sector, or make a raw image. One careful read pass, copy whatever still reads, then stop using the original disk. Do your recovery work on the copy, not on the dying hardware.
For doing this yourself, I had decent results with Disk Drill. I know most people only bring it up for deleted files, but the disk image part matters more here. From what I saw in version 6, it handles unstable drives in a less dumb way than a lot of tools. When it hits unreadable areas, it doesn’t always stall the whole job. It skips ahead, grabs the easy data first, then circles back and tries rough sections with smaller blocks. On a weak drive, that matters. Less thrashing, fewer endless retries, better odds you pull more data before the drive gives up.
What I’d do:
Basic recovery order
- Get another healthy drive with enough free space.
- Create a full byte-for-byte image of the bad drive.
- Disconnect the bad drive once the image is done.
- Mount or attach the image in the recovery software.
- Scan the image for recoverable files.
- Save recovered files to a different drive, not the image drive, not the failing drive.
That last part trips people up. Keep the source, the image target, and the recovery destination separate if you can.
Some signs mean stop the DIY attempt.
If the drive clicks, grinds, beeps, fails to spin, or drops in and out of detection in BIOS, you’re in mechanical failure territory. I would not keep hammering it with software. If the files matter, send it to a lab. Places like Gillware or Techchef do cleanroom work and swap heads or stabilize failing internals with specialized gear. Price is ugly, usually somewhere around $500 to $3,000 from what I’ve seen, but those are the cases where home recovery tools hit a wall.
After your files are safe, and you’ve opened them to confirm they’re not corrupted, then sure, you can test the original drive if you want to use it for junk storage. A full format is better than a quick one. You can also run chkdsk /r in PowerShell to force a scan for bad sectors and mark them unusable. Me, I wouldn’t trust the drive again for anything important. Once a disk starts throwing CRC errors and hanging on reads, I treat it like a countdown started.
This is also the point where backups stop being optional. I stick to 3-2-1 because it’s boring and it works:
Backup rule worth following
- 3 copies of your data
- 2 different storage types
- 1 copy off-site or in the cloud
It feels annoying until a drive dies. Then it feels cheap.
If the drive is making noise, I’d rate this as a failing hard drive with bad sectors, not a file system issue first. That matters, because your best move depends on whether the disk stays detected for more than a few minutes.
I agree with @mikeappsreviewer on one big point, skip repair tools at the start. I disagree a bit on imaging being the first DIY move in every case. If the drive is clicking or dropping offline, a full image attempt sometimes pushes it over the edge. In those cases, I’d copy the irreplaceable stuff first, photos, docs, work files, in small batches, sorted by priority. Less elegant, more practical.
What I’d do.
- Check SMART with CrystalDiskInfo, read only.
- If you see Reallocated Sectors, Pending Sectors, or Uncorrectable Sectors climbing, stop testing.
- Keep the drive cool. A desk fan helps. Heat makes weak drives worse.
- Use a direct SATA port if possible. USB bridges hide errors and time out more often.
- Copy your most important folders first. Start with the smallest folders.
- If normal copy hangs, switch to Disk Drill and scan the drive or image for file recovery.
- Save recovered files to a different healthy drive.
One more thing. Do not run defrag. Do not full format. Do not keep retrying the same stuck file for an hour. That’s how drives die mid-recovery, ask me how i know.
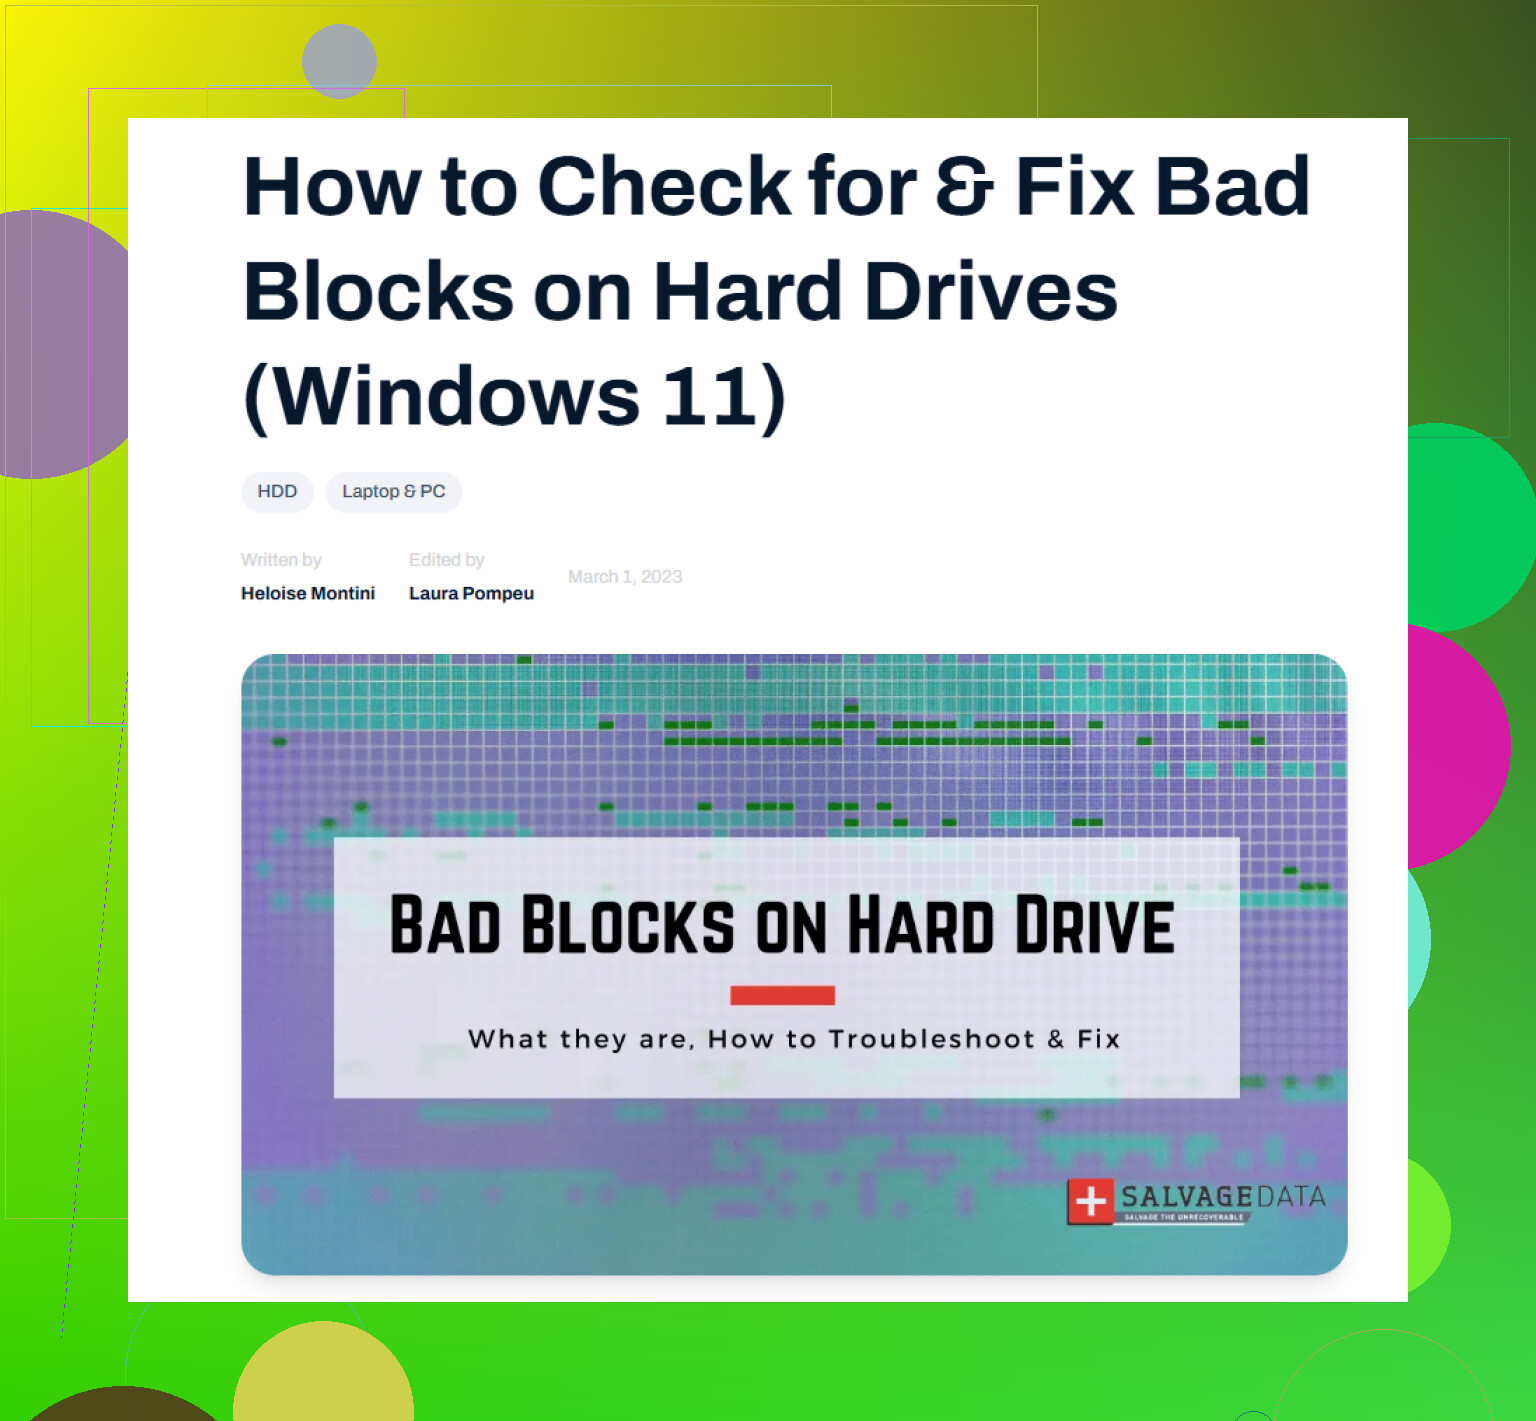
If you want a plain explainer on hard drive bad sectors and failure signs, this is decent: how bad sectors on a hard drive affect data recovery.
If the drive clicks, beeps, or vanishes from BIOS, skip DIY. Lab time. Price hurts, but your data is worth more than a dead DIY atempt.
If it’s making unusual noises, I’d be a little more conservative than both @mikeappsreviewer and @chasseurdetoiles on DIY stuff. Bad sectors alone are one thing. Noise plus bad sectors is where a drive can go from “reads sometimes” to “paperweight” real fast.
My take:
- Do not run repairs like CHKDSK, “scan and fix,” defrag, or anything that writes to the disk.
- Do not keep browsing folders to see what’s still there. Explorer hangs = more stress on the drive.
- If the files are truly irreplaceable, consider a recovery lab first, before you do any more reads at all.
Where I slightly disagree with the “copy priority files first” idea: if the drive is unstable, manually hopping around folders can cause a lot of random seeking. Sometimes that’s worse than a controlled imaging pass. Sometimes not. That’s why the key question is this: is the drive staying detected consistently, and is the noise light ticking vs full-on clicking/grinding?
If it still reads for a while, use Disk Drill to make a disk image and recover from the image, not the original. That’s the safest consumer-level route in a lot of cases. If it keeps disconnecting, disappears in BIOS, or starts clicking louder, stop. Seriously, just stop.
Also, use a different computer/adapter/cable before assuming every error is media damage. I’ve seen flaky USB enclosures fake people out. Not often, but enough.
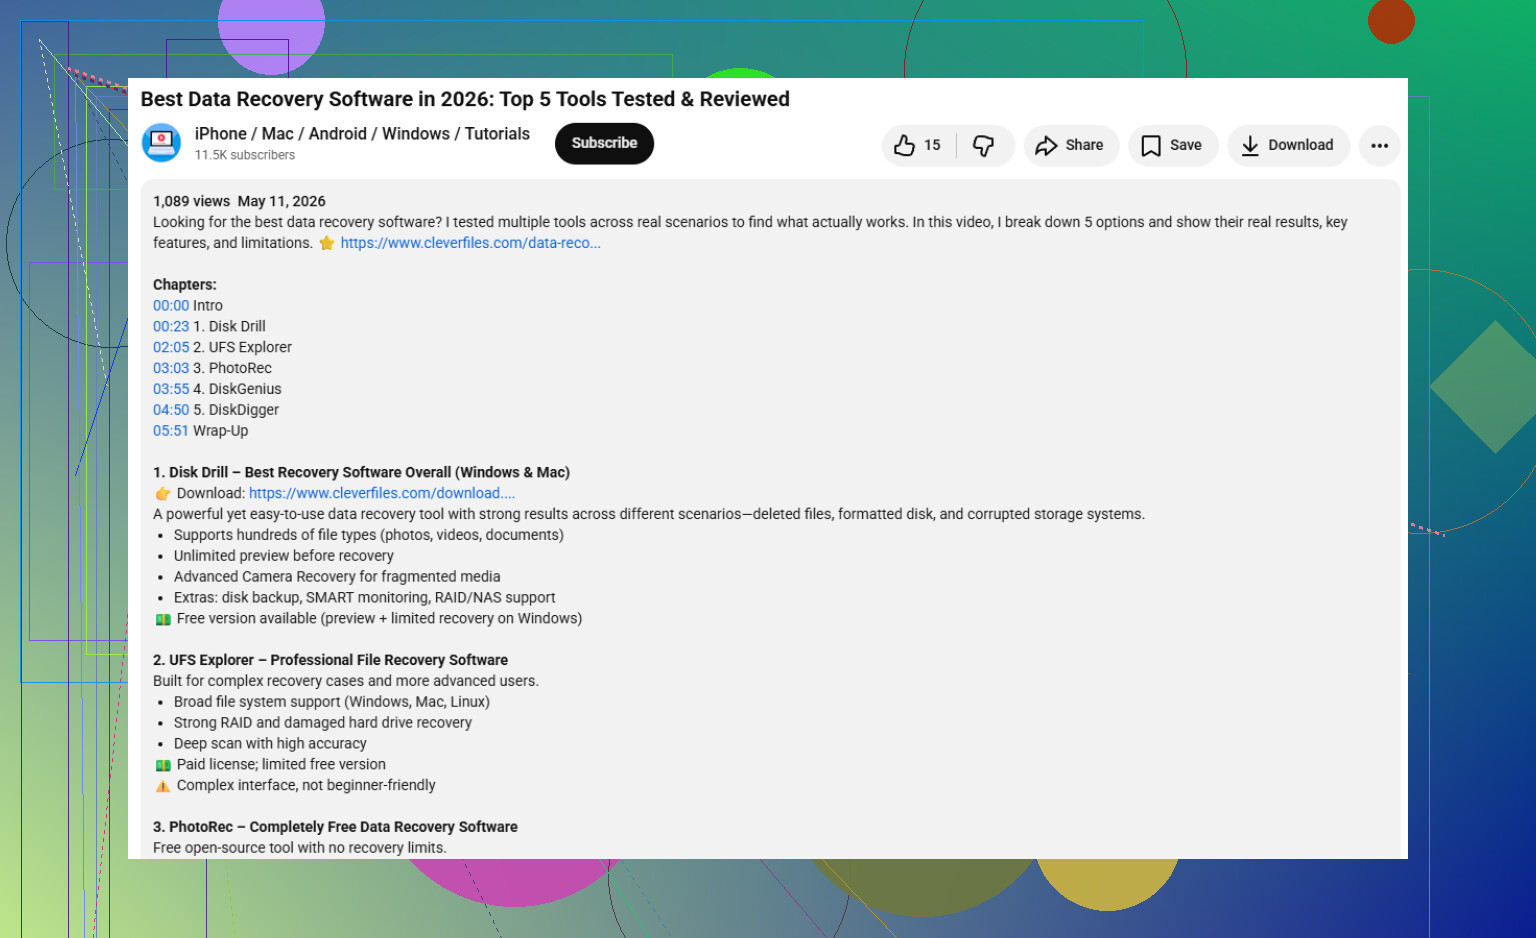
And for learning how to choose the best data recovery software for your needs, this is actually a decent starting point: watch this guide to picking data recovery software
Short version: noise = danger, bad sectors = don’t write to it, Disk Drill image if stable, lab if not. Don’t overtest it becuase that’s how recoverable turns into unrecoverable.
One point I’d add to @chasseurdetoiles, @suenodelbosque, and @mikeappsreviewer: listen to the type of noise. Soft repetitive ticking can still be risky but sometimes readable. Grinding, buzzing, spin-up/spin-down loops, or a click every second usually means stop powering it up.
I also would not keep checking SMART over and over. One read is fine. Repeated health polling is still disk activity.
A practical middle path:
- Power it on once, with everything ready
- Disable sleep and USB power saving
- Copy only one class of files first, like photos by year
- If transfer speed nosedives below normal and stays there, abort
- Let the drive rest between attempts
About Disk Drill, I think it fits only if the drive is still readable enough to stay online.
Pros
- Easy imaging workflow
- Can recover from image instead of stressing original
- Good preview for photos/docs
- Better for non-experts than many tools
Cons
- Not magic on mechanical failure
- Deep scans can take forever
- Imaging a very unstable drive may still push it too far
- License cost may sting if the drive is already near-dead
So I slightly disagree with “always image first” as a universal rule. If the drive has minutes left, targeted rescue can beat a perfect plan. If the noise is worsening, skip DIY and go straight to a lab. Once heads start failing, software is just asking a dying disk for favors.